Zero to Pro: Mastering Git and GitHub
Introduction
Welcome to the definitive guide to Git and GitHub! Whether you are writing code, writing a book, or managing configuration files, version control is a superpower. By the end of this lesson, you will transition from having no knowledge of version control to using Git and GitHub like an industry professional.
What is Version Control?
Imagine writing a research paper. You probably save files like paper_v1.docx, paper_v2_final.docx, paper_v3_REAL_FINAL.docx. Version control systems (VCS) eliminate this mess. They track every change you make to your files over time, allowing you to easily revert to previous versions, compare changes, and collaborate with others without overwriting their work.
Git vs. GitHub (The Big Difference)
The most common beginner mistake is confusing Git and GitHub. They are related, but they are not the same thing.
Git is the software running on your local computer. It is the engine that tracks your files and history. You don’t need the internet to use Git.
GitHub is a website and cloud service that hosts your Git repositories. It allows you to back up your work, share it with the world, and collaborate with teams.
Think of Git as your camera, and GitHub as Instagram. You use the camera to take the pictures, but you use Instagram to store, share, and comment on them.
Part 1: Setup and Account Creation
Before we run any commands, we need to set up our tools.
1. Create a GitHub Account
- Go to github.com.
Click Sign up in the top right corner.
Follow the prompts (enter your email, create a password, choose a username).
Verify your email address.
2. Installing Git
The installation process varies depending on your Operating System.
Windows
Download the official installer from gitforwindows.org.
Run the installer. You can safely click Next through most of the defaults.
When asked about the default editor, change it from Vim to Nano or Visual Studio Code (unless you already know how to exit Vim! 😏).
While Git Bash (included in the install) is great, pro Windows developers often use WSL2 (Windows Subsystem for Linux). It gives you a real Linux environment inside Windows, making Git incredibly fast and natively integrated.
macOS
Macs usually come with Git pre-installed, but it’s often an outdated Apple version.
Open your Terminal.
Type
git --versionand press Enter. If it prompts you to install the “Xcode Command Line Tools,” click Install.
The industry standard way to install tools on Mac is using Homebrew. Once Homebrew is installed, simply run brew install git in your terminal to always have the latest, most powerful version.
Linux (Ubuntu/Debian)
Open your terminal.
Update your packages:
sudo apt update- Install Git:
sudo apt install gitIf you want the absolute bleeding-edge version of Git, you can add the official PPA:
sudo add-apt-repository ppa:git-core/ppa
sudo apt update && sudo apt install git
3. Initial Git Configuration
Once installed, you must introduce yourself to Git. Open your terminal (or Git Bash on Windows) and type:
git config --global user.name "Your First and Last Name"
git config --global user.email "your.email@used_for_github.com"Change the default branch name from master to main. The tech industry has standardized on main, and GitHub uses it by default. Run this command:
git config --global init.defaultBranch mainPart 2: Git Basics (The Daily Workflow)
To understand Git, you need to understand the Three Tree Architecture. Files in a Git project go through three stages:
- Working Directory: Your actual files right now.
- Staging Area (Index): A holding area where you gather files you want to save.
- Repository (Commit History): The permanent timeline of your project.
Starting a Project
Let’s create a new folder and turn it into a Git repository.
mkdir my-first-repo
cd my-first-repo
git init
git init creates a hidden .git folder. This is the brain of your repository.
The Core Loop: Status, Add, Commit
Create a new file called notes.txt and add some text to it.
1. Check the status
git statusGit will tell you that notes.txt is “untracked.”
2. Add to Staging Area
We want to tell Git to prepare to save this file.
git add notes.txtTo add all changed files at once, use git add .
3. Commit to the Repository
A commit is like taking a snapshot or a save-state of your project. Every commit needs a message explaining what you changed.
git commit -m "Add initial notes file"4. View History
git logThis shows you a timeline of all your commits, who made them, and when.
Part 3: Connecting to GitHub (Remote Repositories)
Now we want to back up our local repository to GitHub.
1. Authentication (HTTPS vs. SSH)
To push code to GitHub, GitHub needs to know it’s really you.
Beginner Way (HTTPS & Personal Access Tokens): GitHub no longer allows basic passwords in the terminal. You must go to GitHub Settings -> Developer Settings -> Personal Access Tokens, generate a token, and paste that as your password when the terminal prompts you.
Pros set up an SSH key. It’s a secure, hidden file on your computer that acts as a VIP pass. You never have to type a password again.
Generate a key:
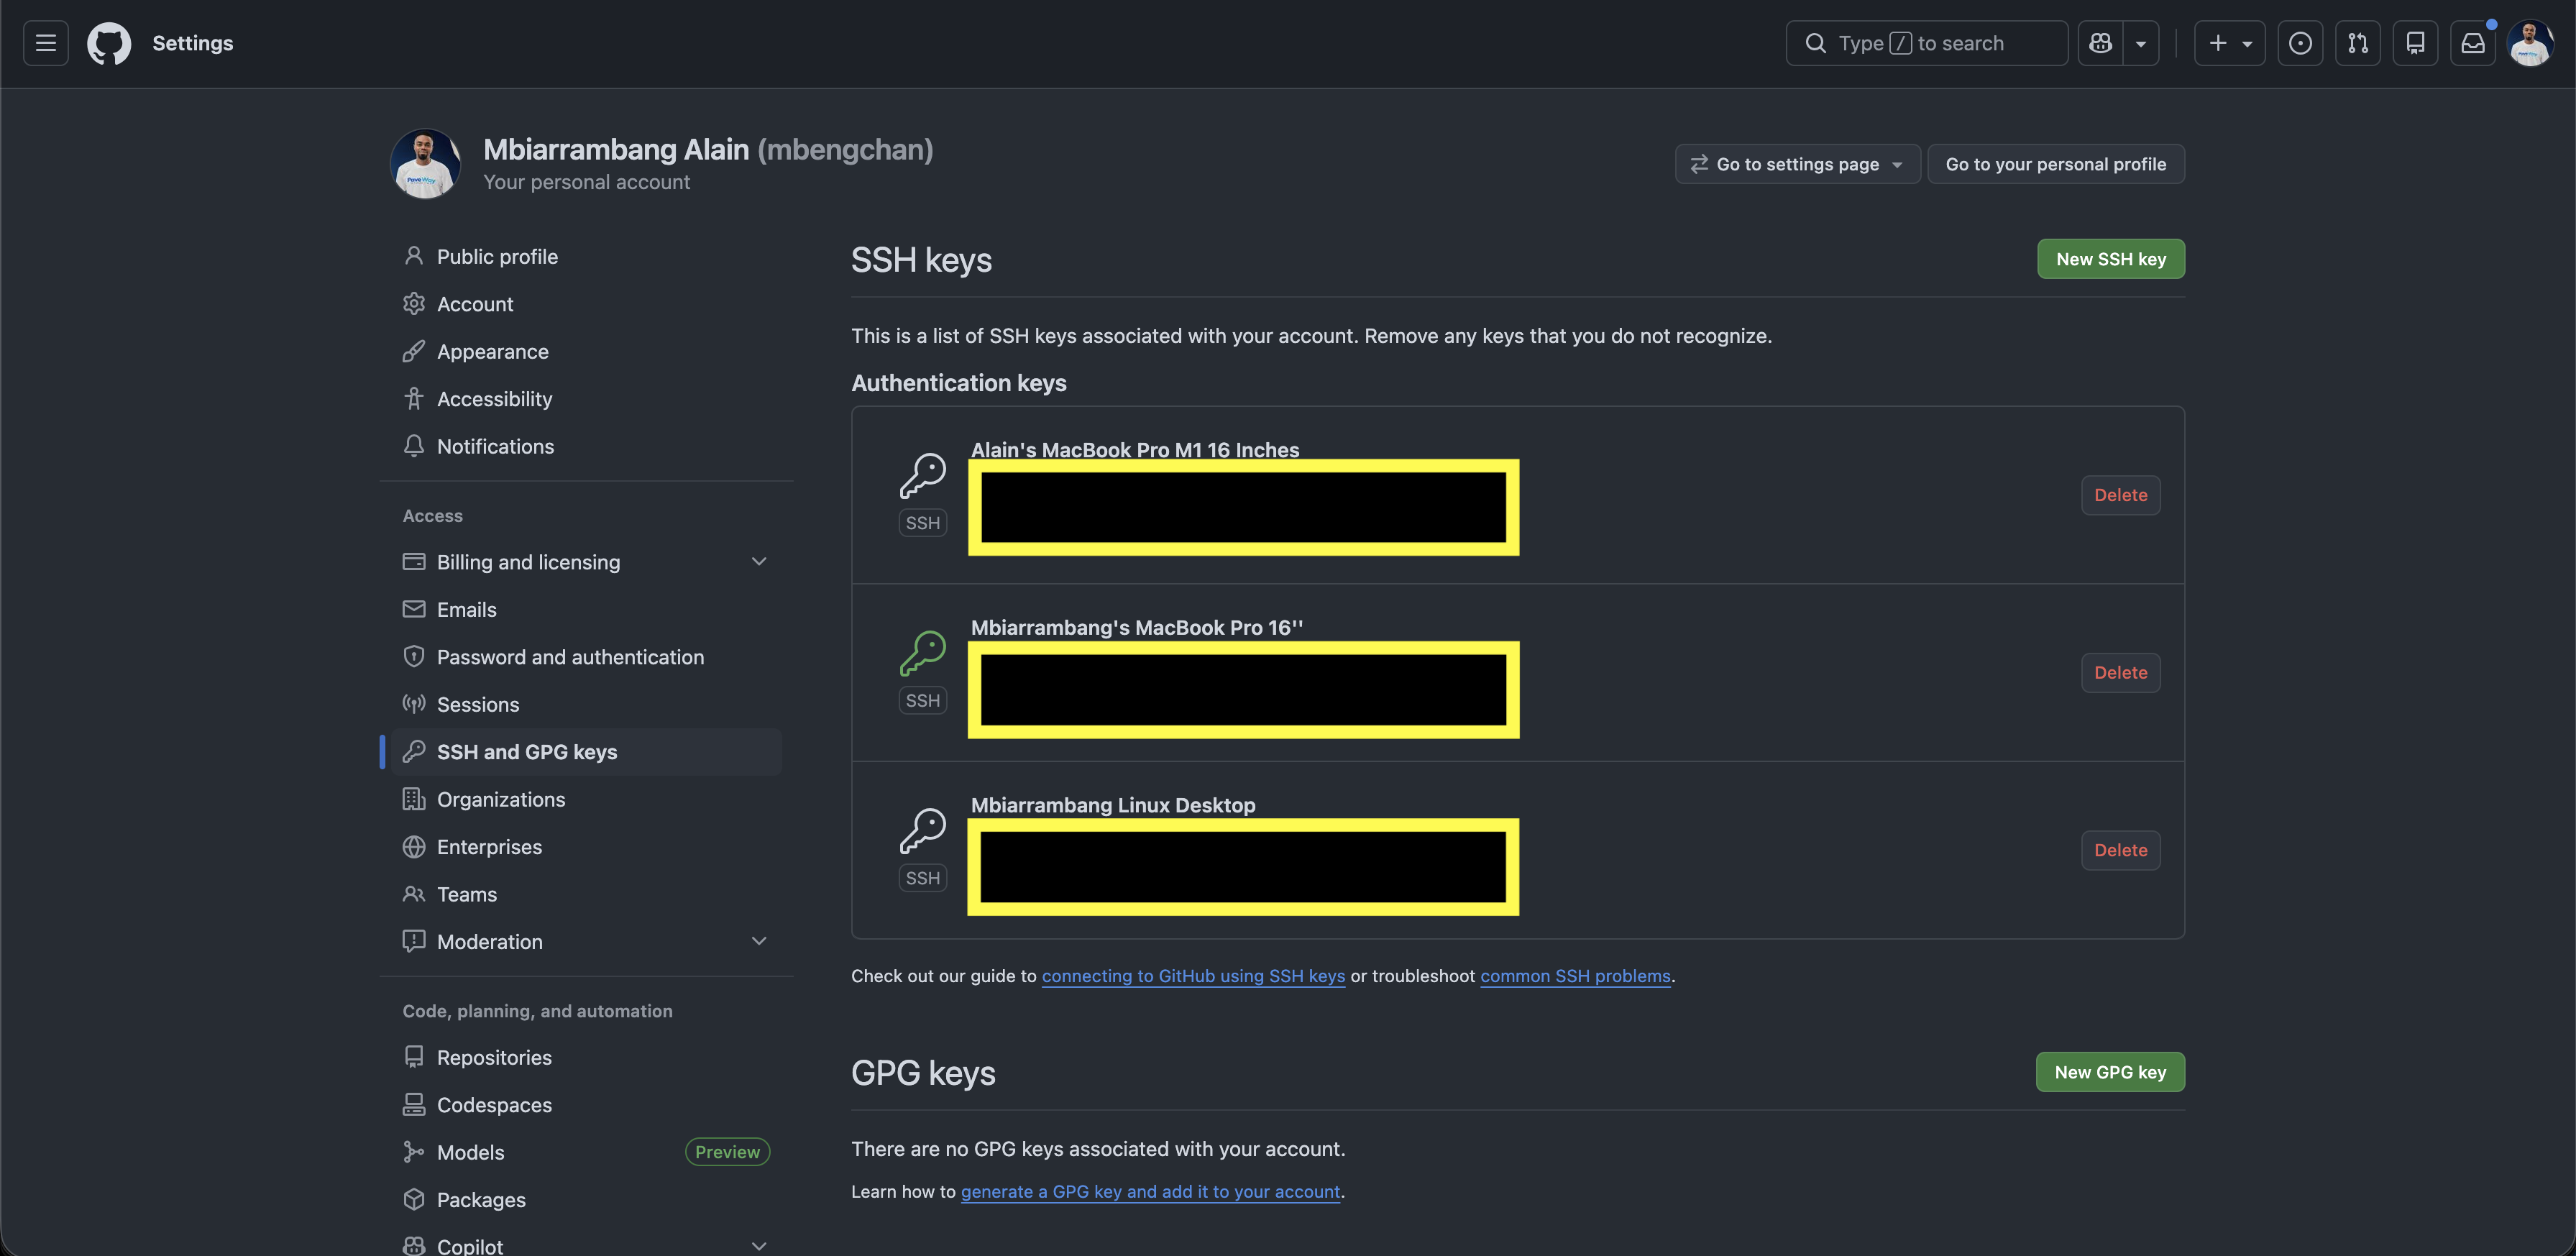
ssh-keygen -t ed25519 -C "your_email@example.com"Add to GitHub: Copy the contents of the .pub file and paste it into GitHub Settings -> SSH and GPG keys.
2. Pushing Your Code
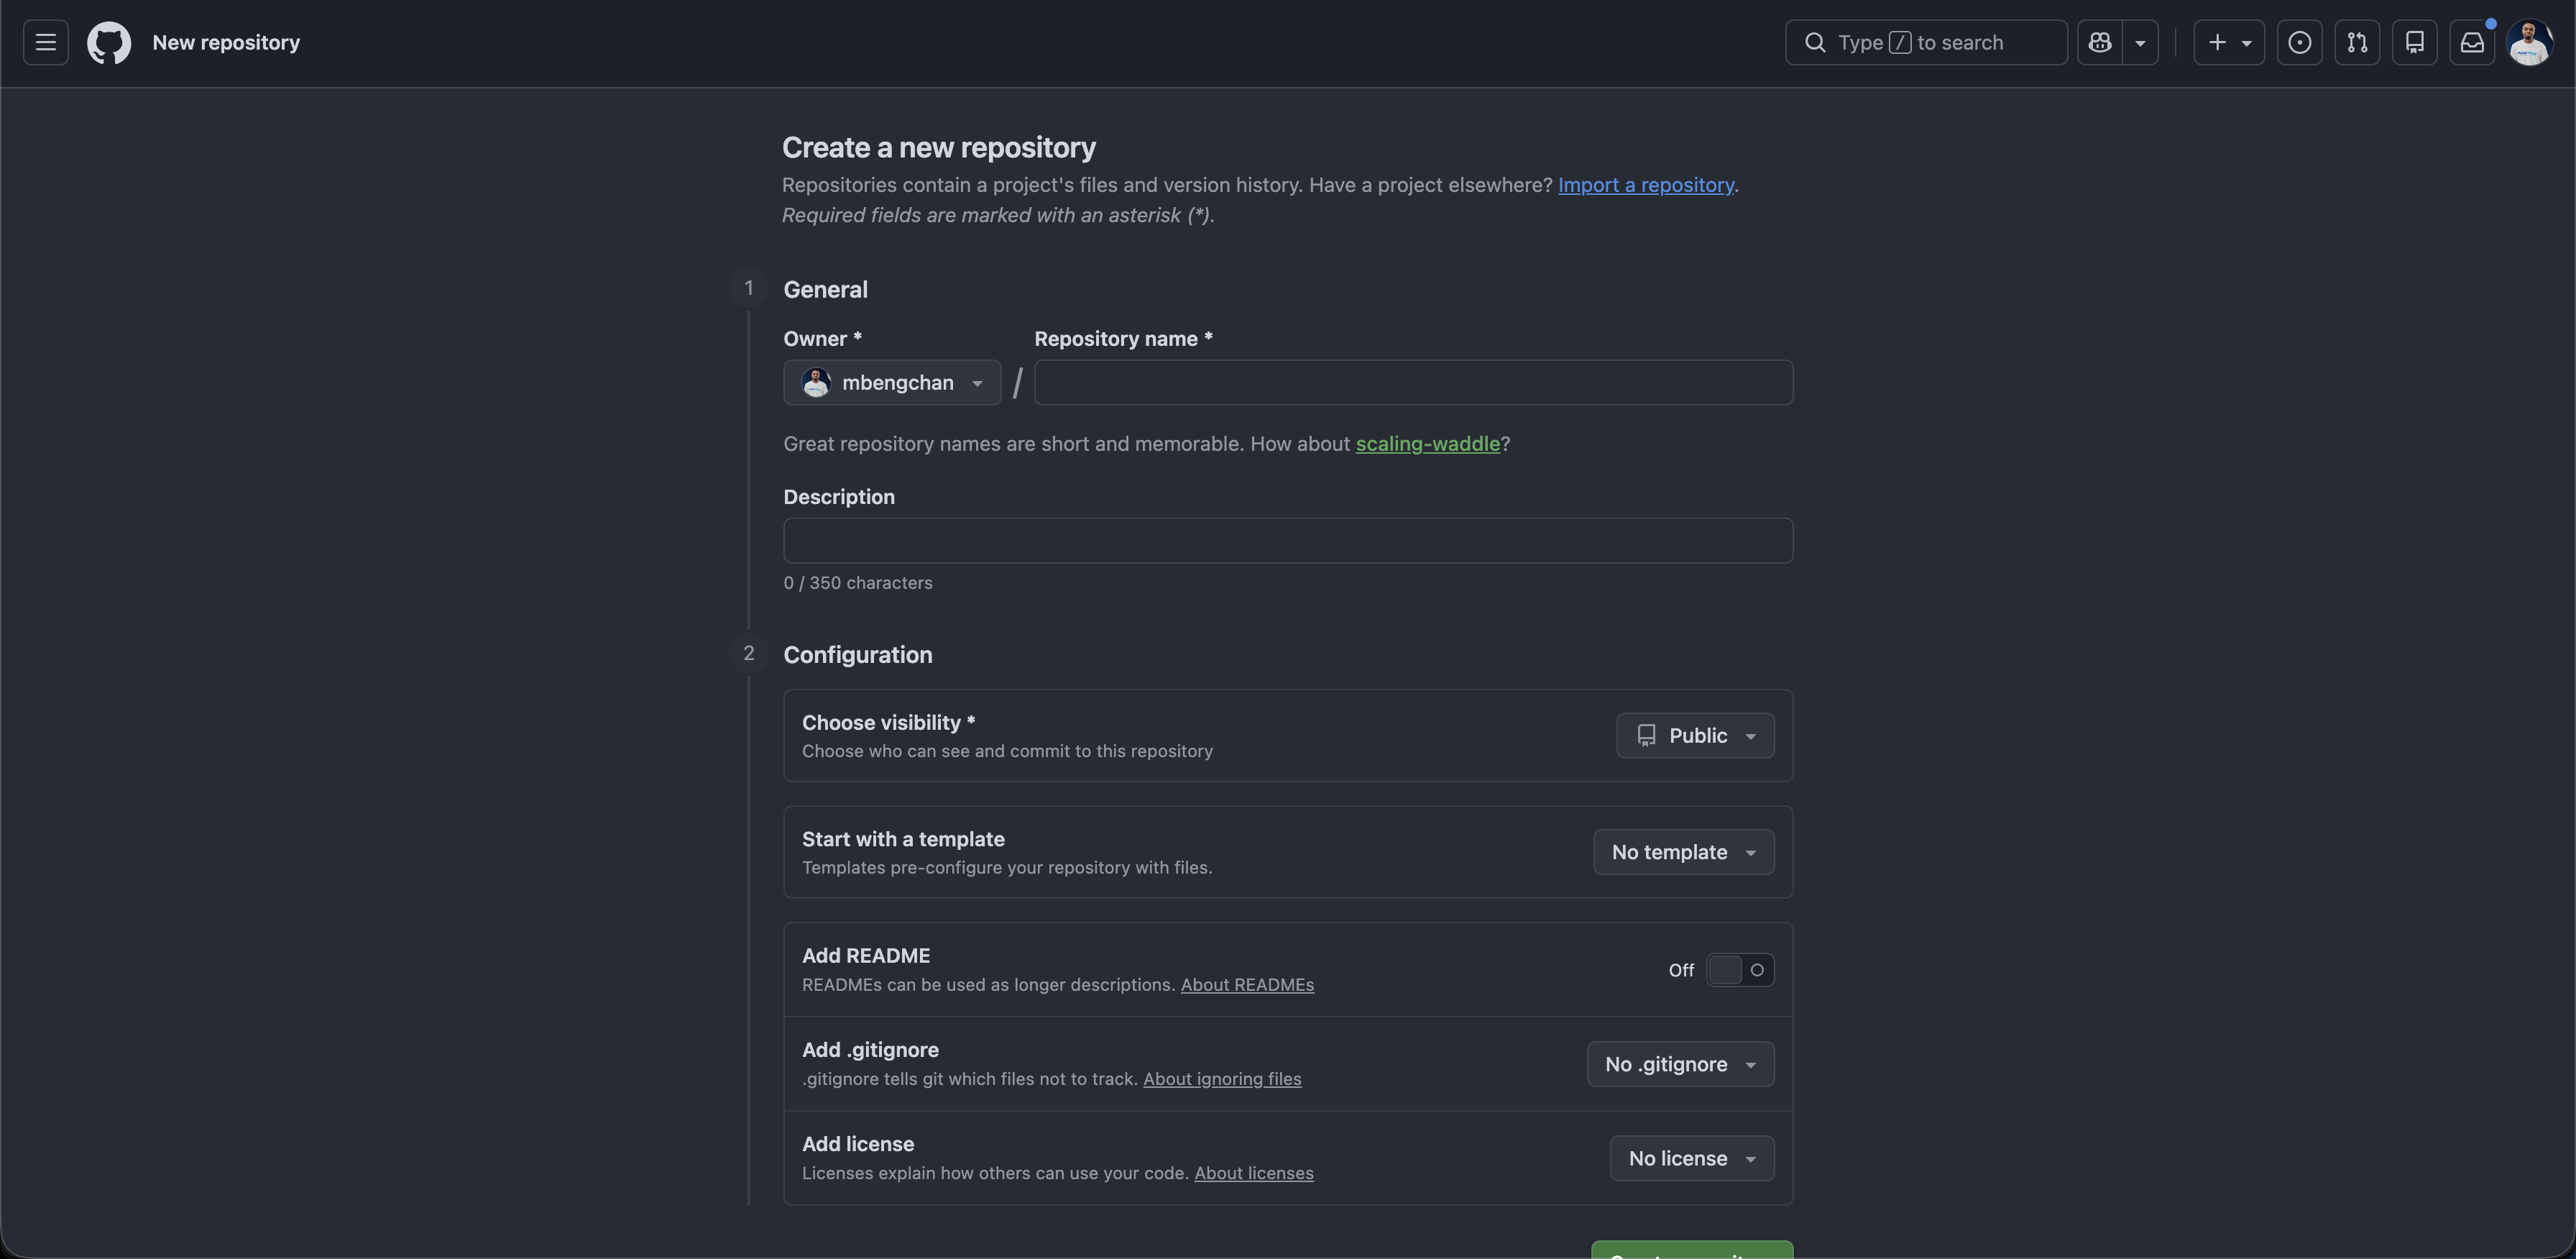
Go to GitHub and click the + icon to create a New repository. Name it my-first-repo. Do not initialize it with a README. 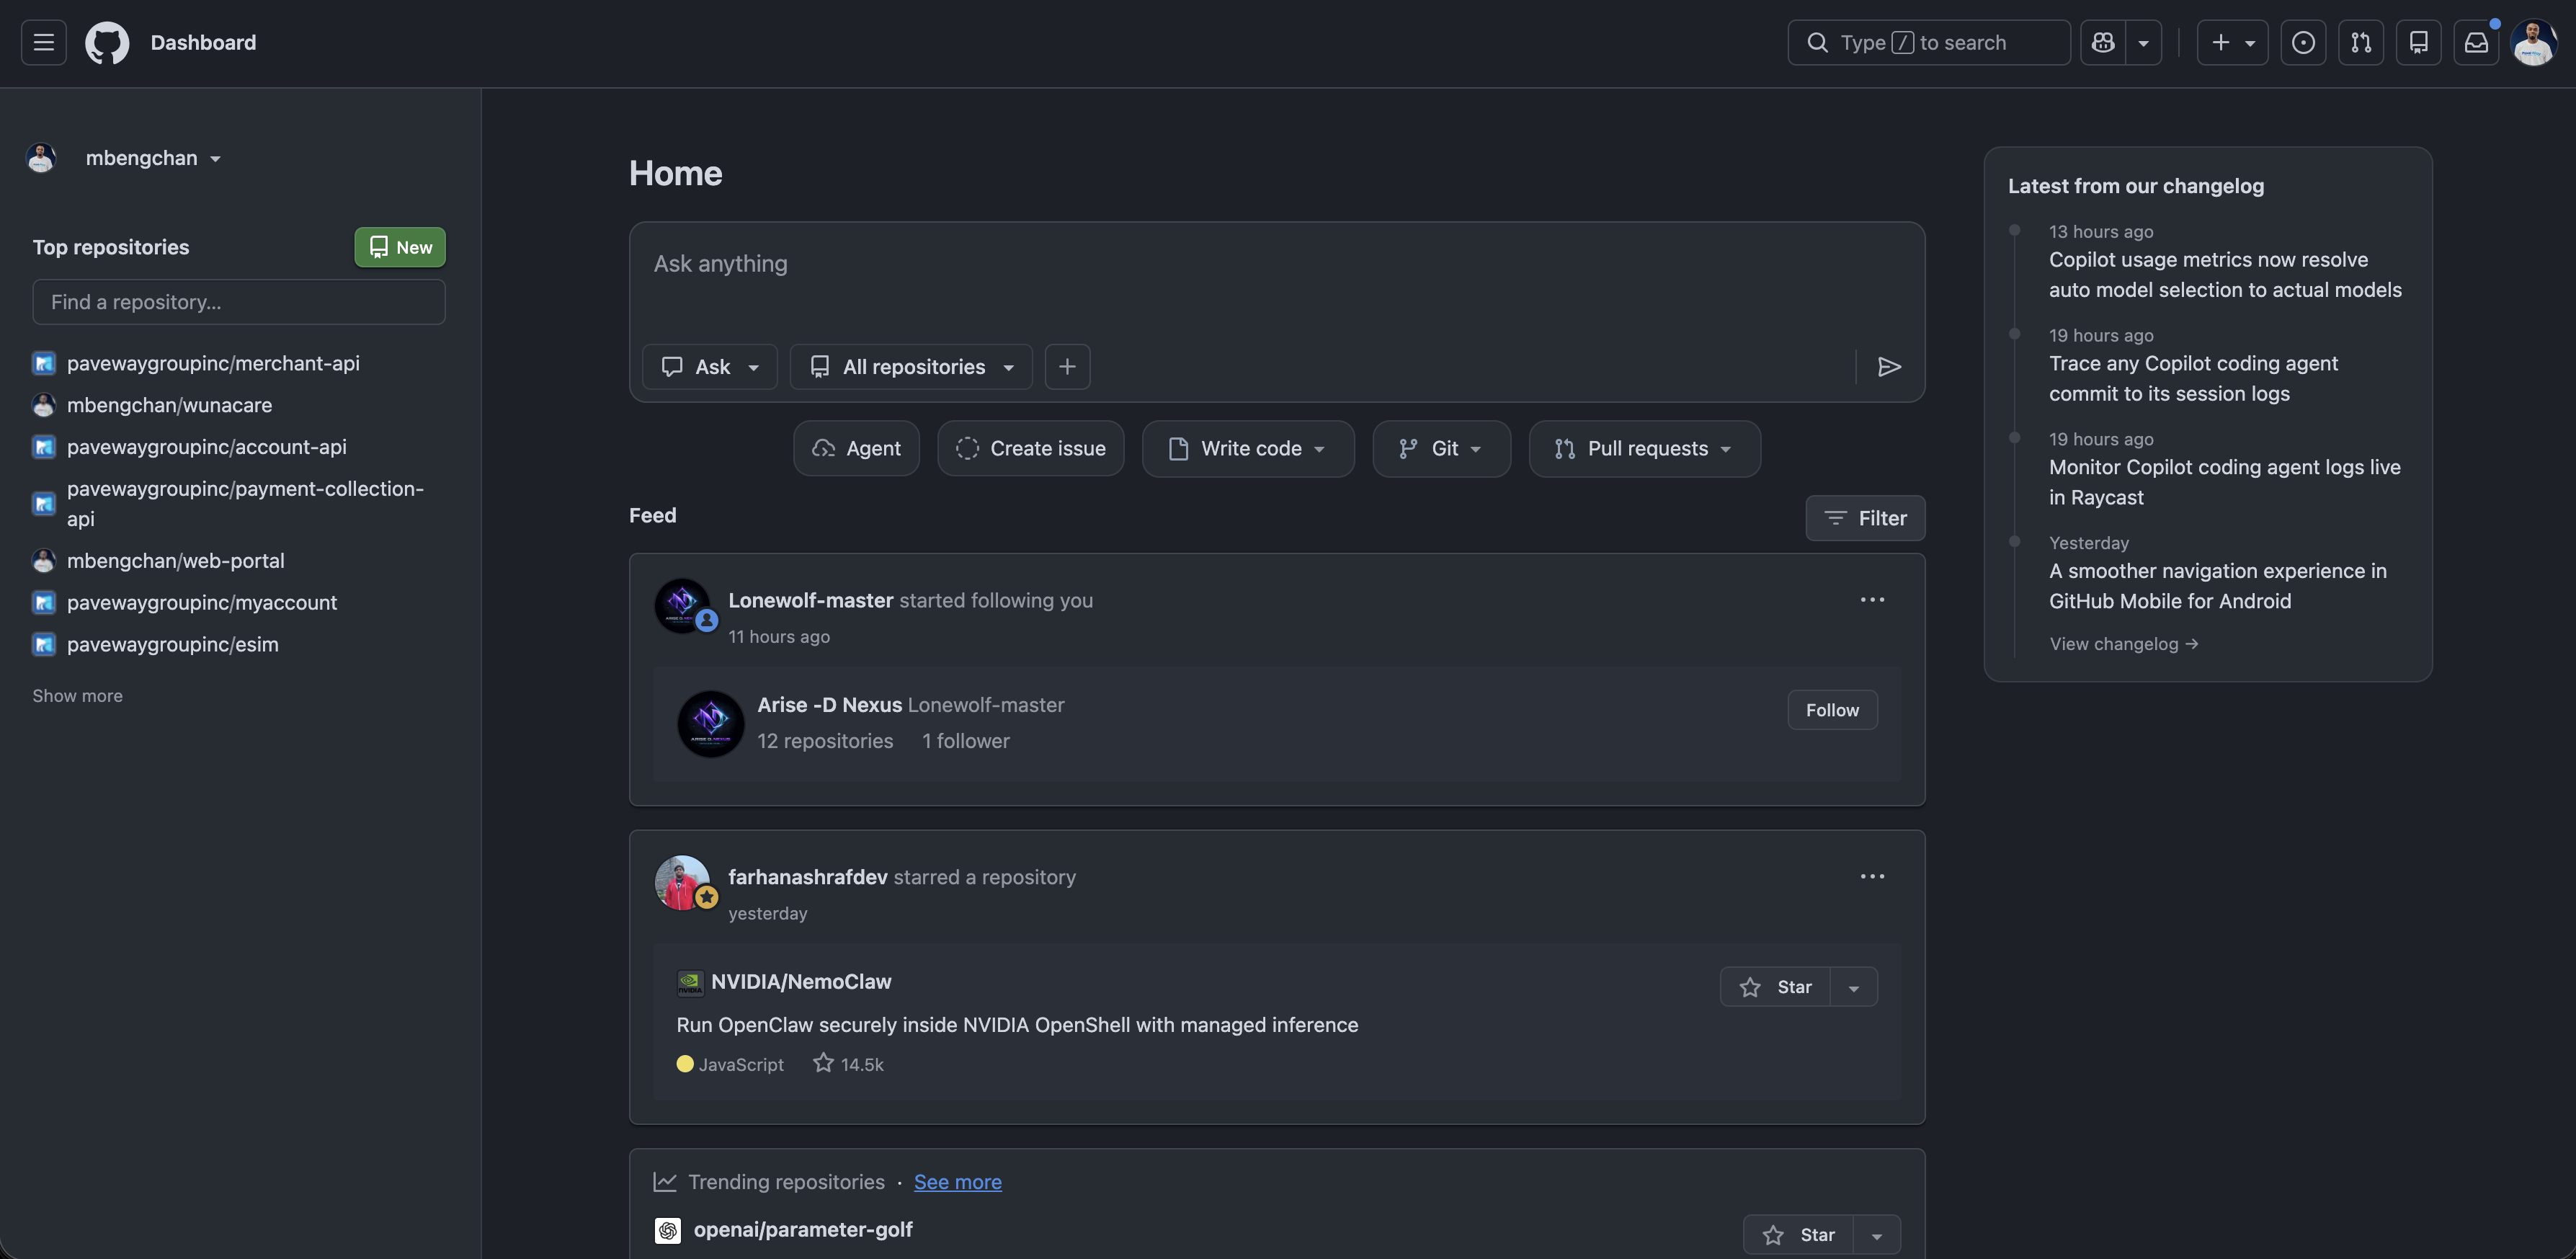
GitHub will give you a block of code to “push an existing repository from the command line.” It looks like this:
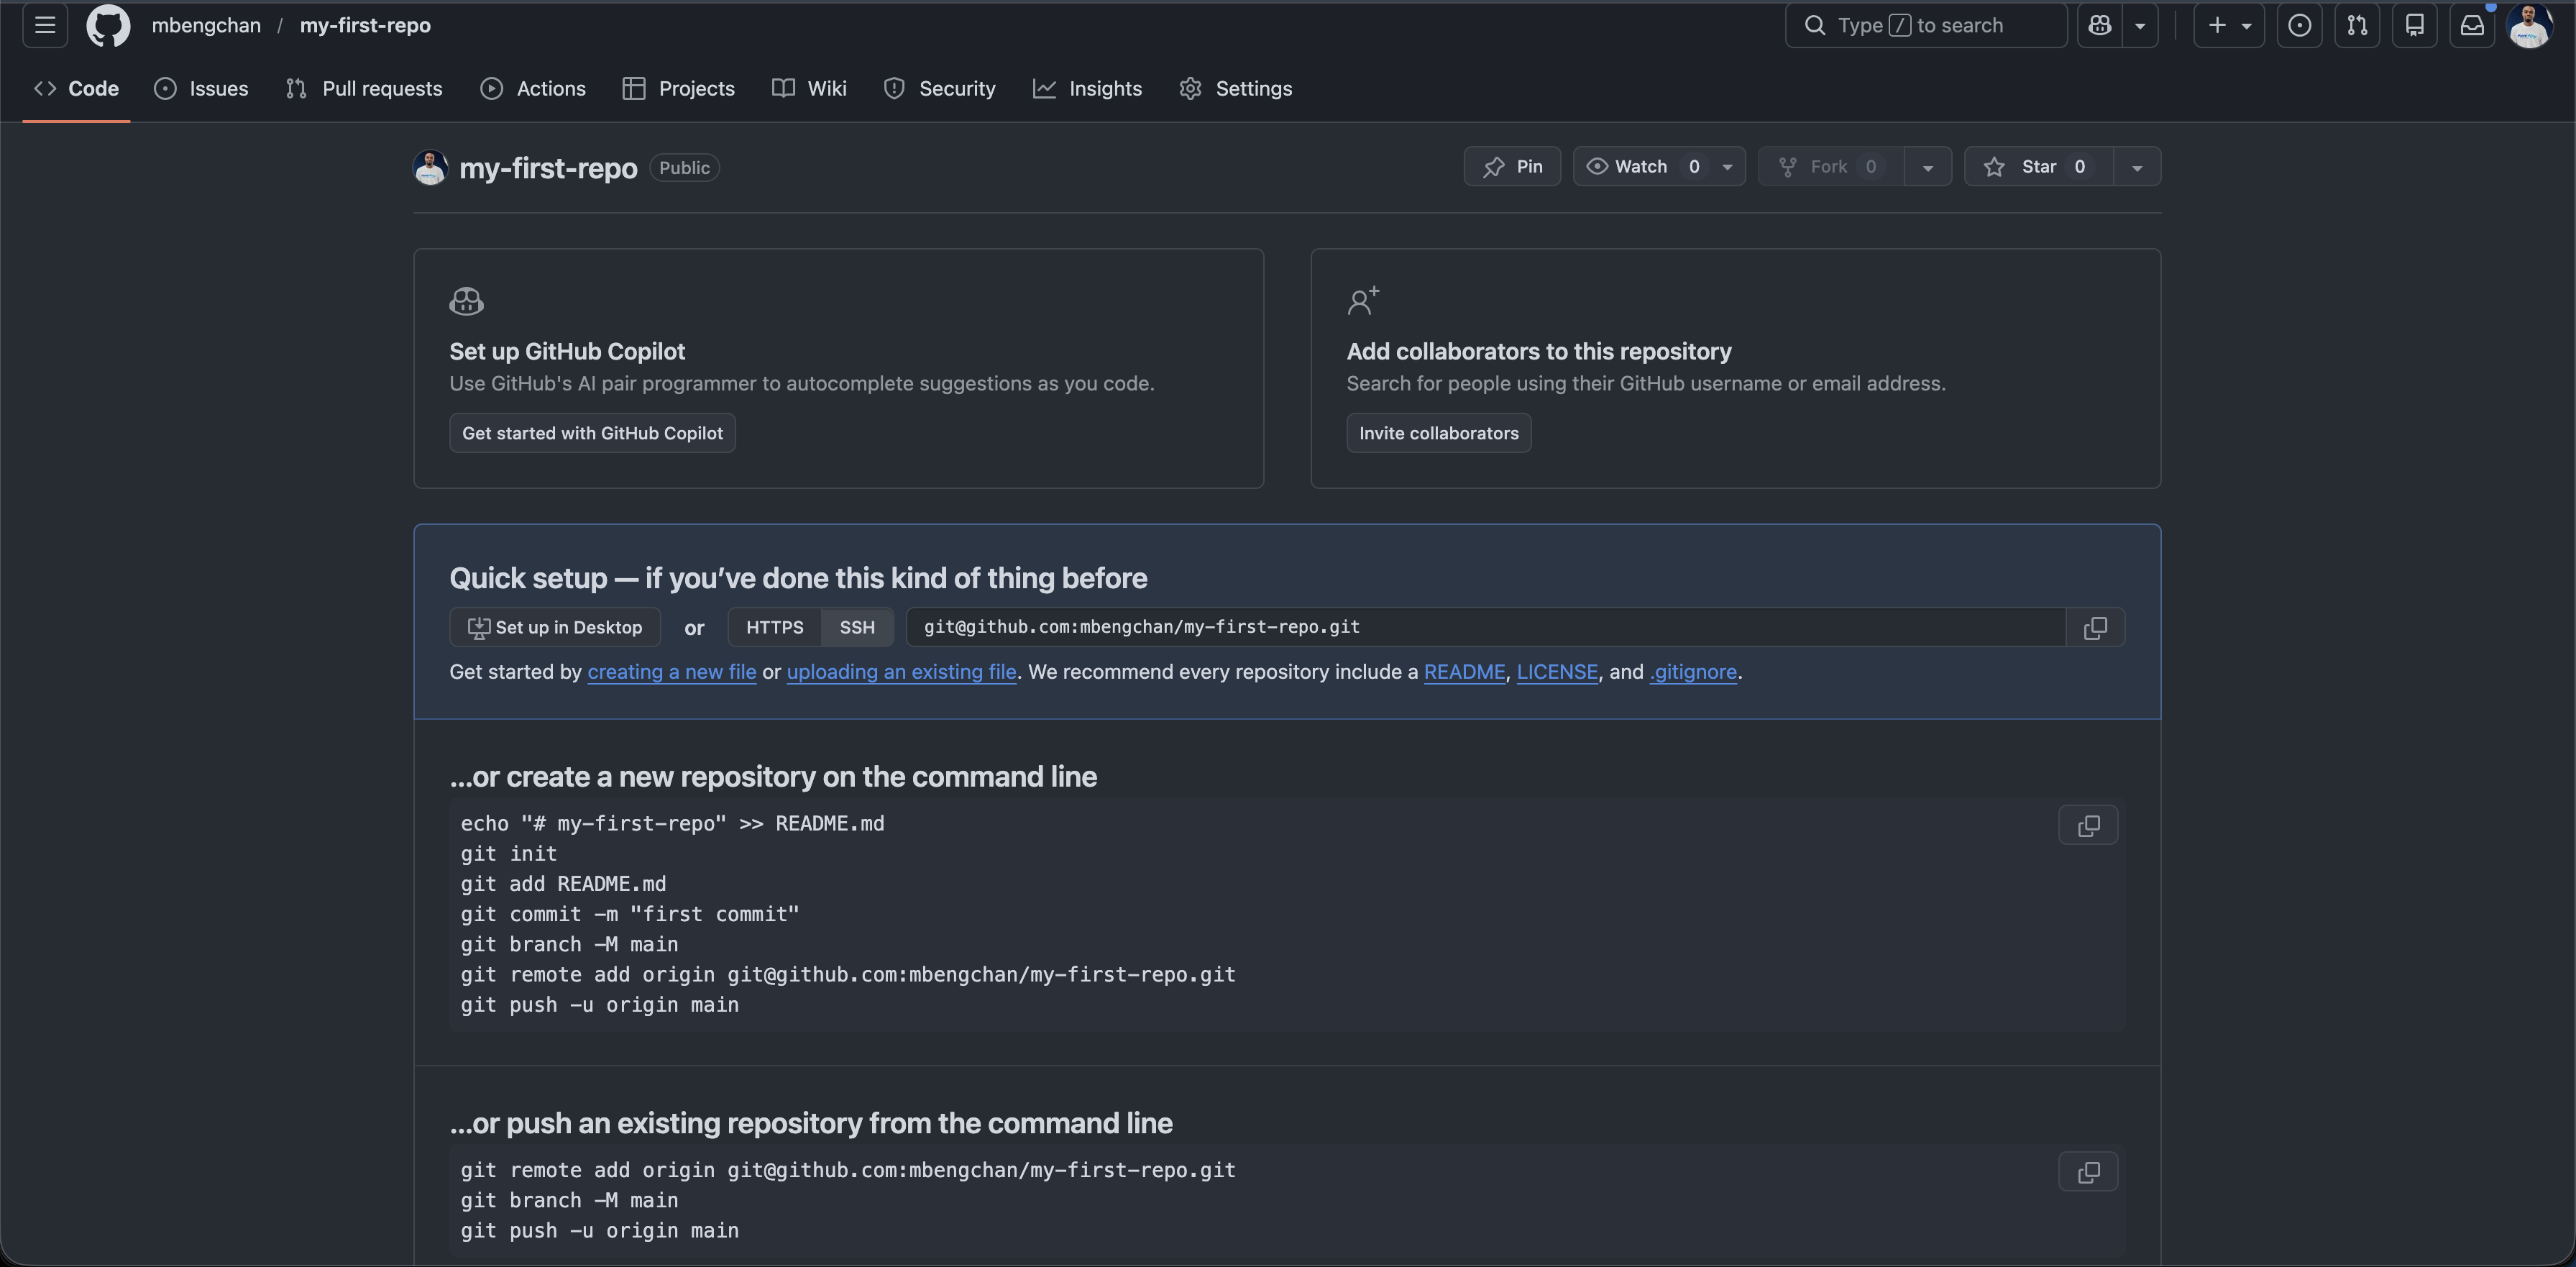
git remote add origin https://github.com/yourusername/my-first-repo.git
git push -u origin main
remote add origin: Links your local folder to the GitHub server (naming it “origin”).
push -u origin main: Uploads your main branch to the origin server.
Part 4: Branching and Merging (Intermediate)
What if you want to experiment with a new feature, but you don’t want to break your working code? You use branches.
A branch is an alternate timeline of your project.
Creating and Switching Branches
Let’s create a branch to add a new chapter to our notes.
# Create a new branch and switch to it immediately
git checkout -b add-chapter-2

# Note: In newer versions of Git, the pro way is using 'switch':
git switch -c add-chapter-2
Now, make a change to notes.txt, then add and commit it:
git add .
git commit -m "Draft chapter 2"
Merging
Your new feature is complete, and you want to combine it with the main timeline.
Switch back to the main branch:
git switch mainMerge the experiment into main:
git merge add-chapter-2The Dreaded Merge Conflict
Sometimes, you edit line 5 on main, and also edit line 5 on add-chapter-2. When you merge, Git throws a Merge Conflict.
Don’t panic! Git will insert markers into your file that look like this:
<<<<<<< HEAD
This is the text on the main branch.
=======
This is the text on the new feature branch.
>>>>>>> add-chapter-2
To fix it, just open the file, delete the <<<, ===, and >>> markers, keep the text you actually want, save the file, and run git add and git commit.
Part 5: Collaborating on GitHub
In the real world, you work with teams.
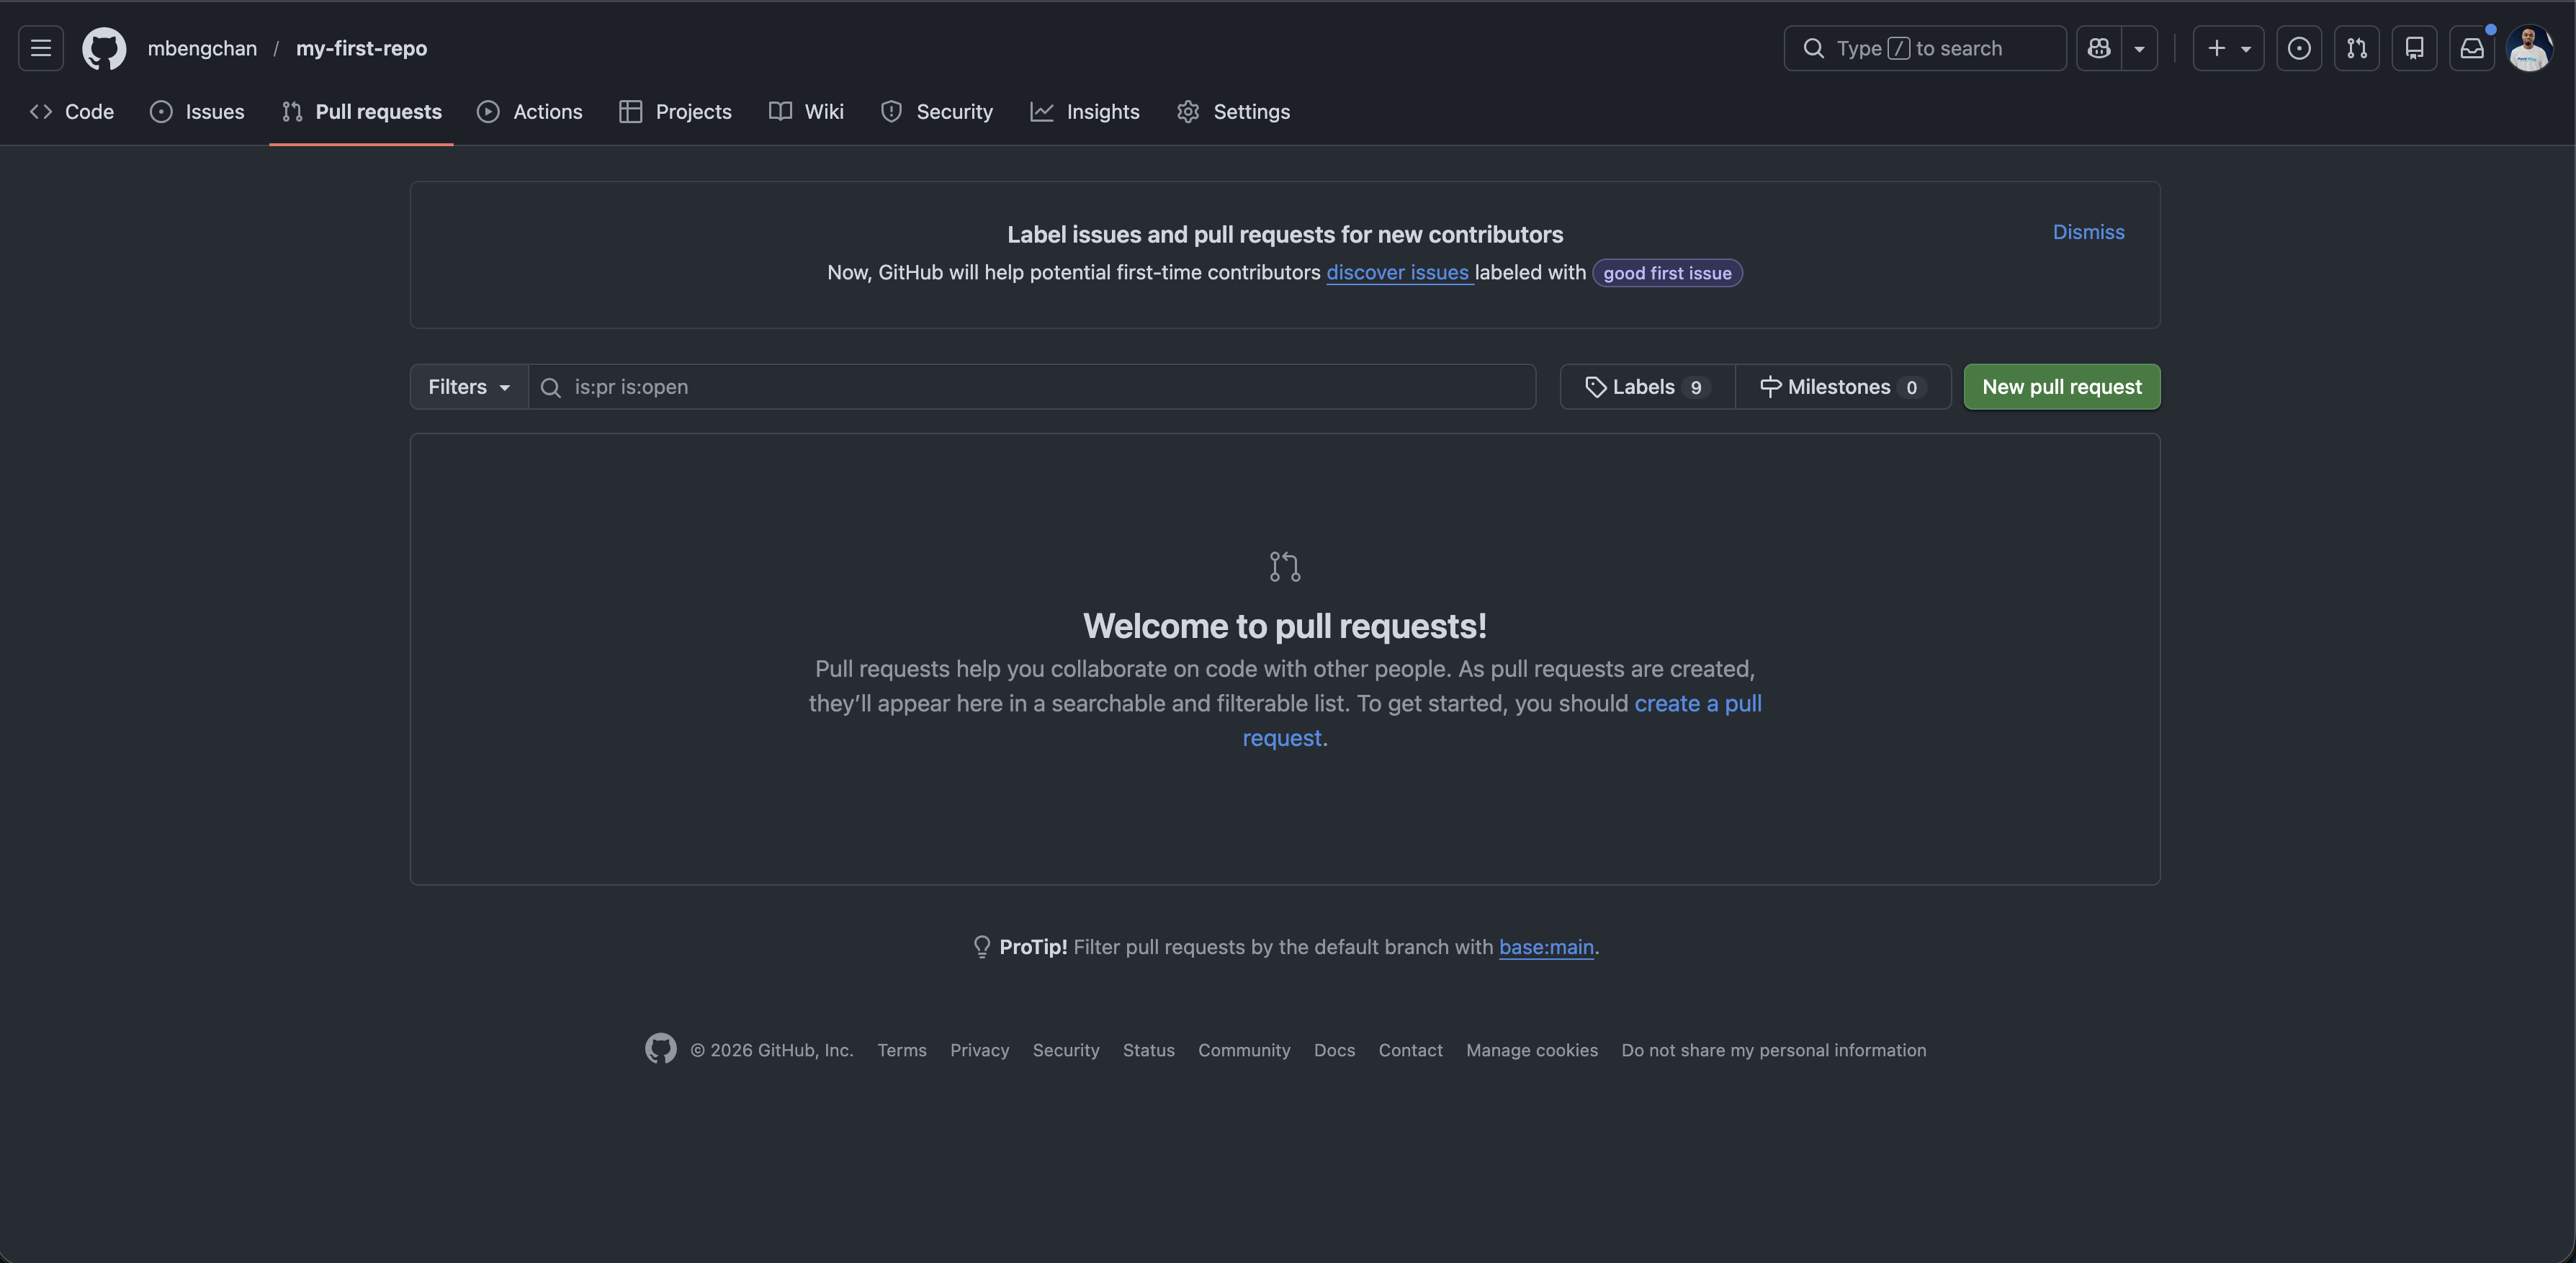
Pull Requests (PRs)
When you want to merge a branch into main on a team project, you don’t do it locally. You push your branch to GitHub and open a Pull Request. A PR is a request asking the team to review your code before it gets merged.
Forking
If you want to contribute to an Open Source project (like Linux or React), you don’t have permission to push to their repository. Instead, you fork it.
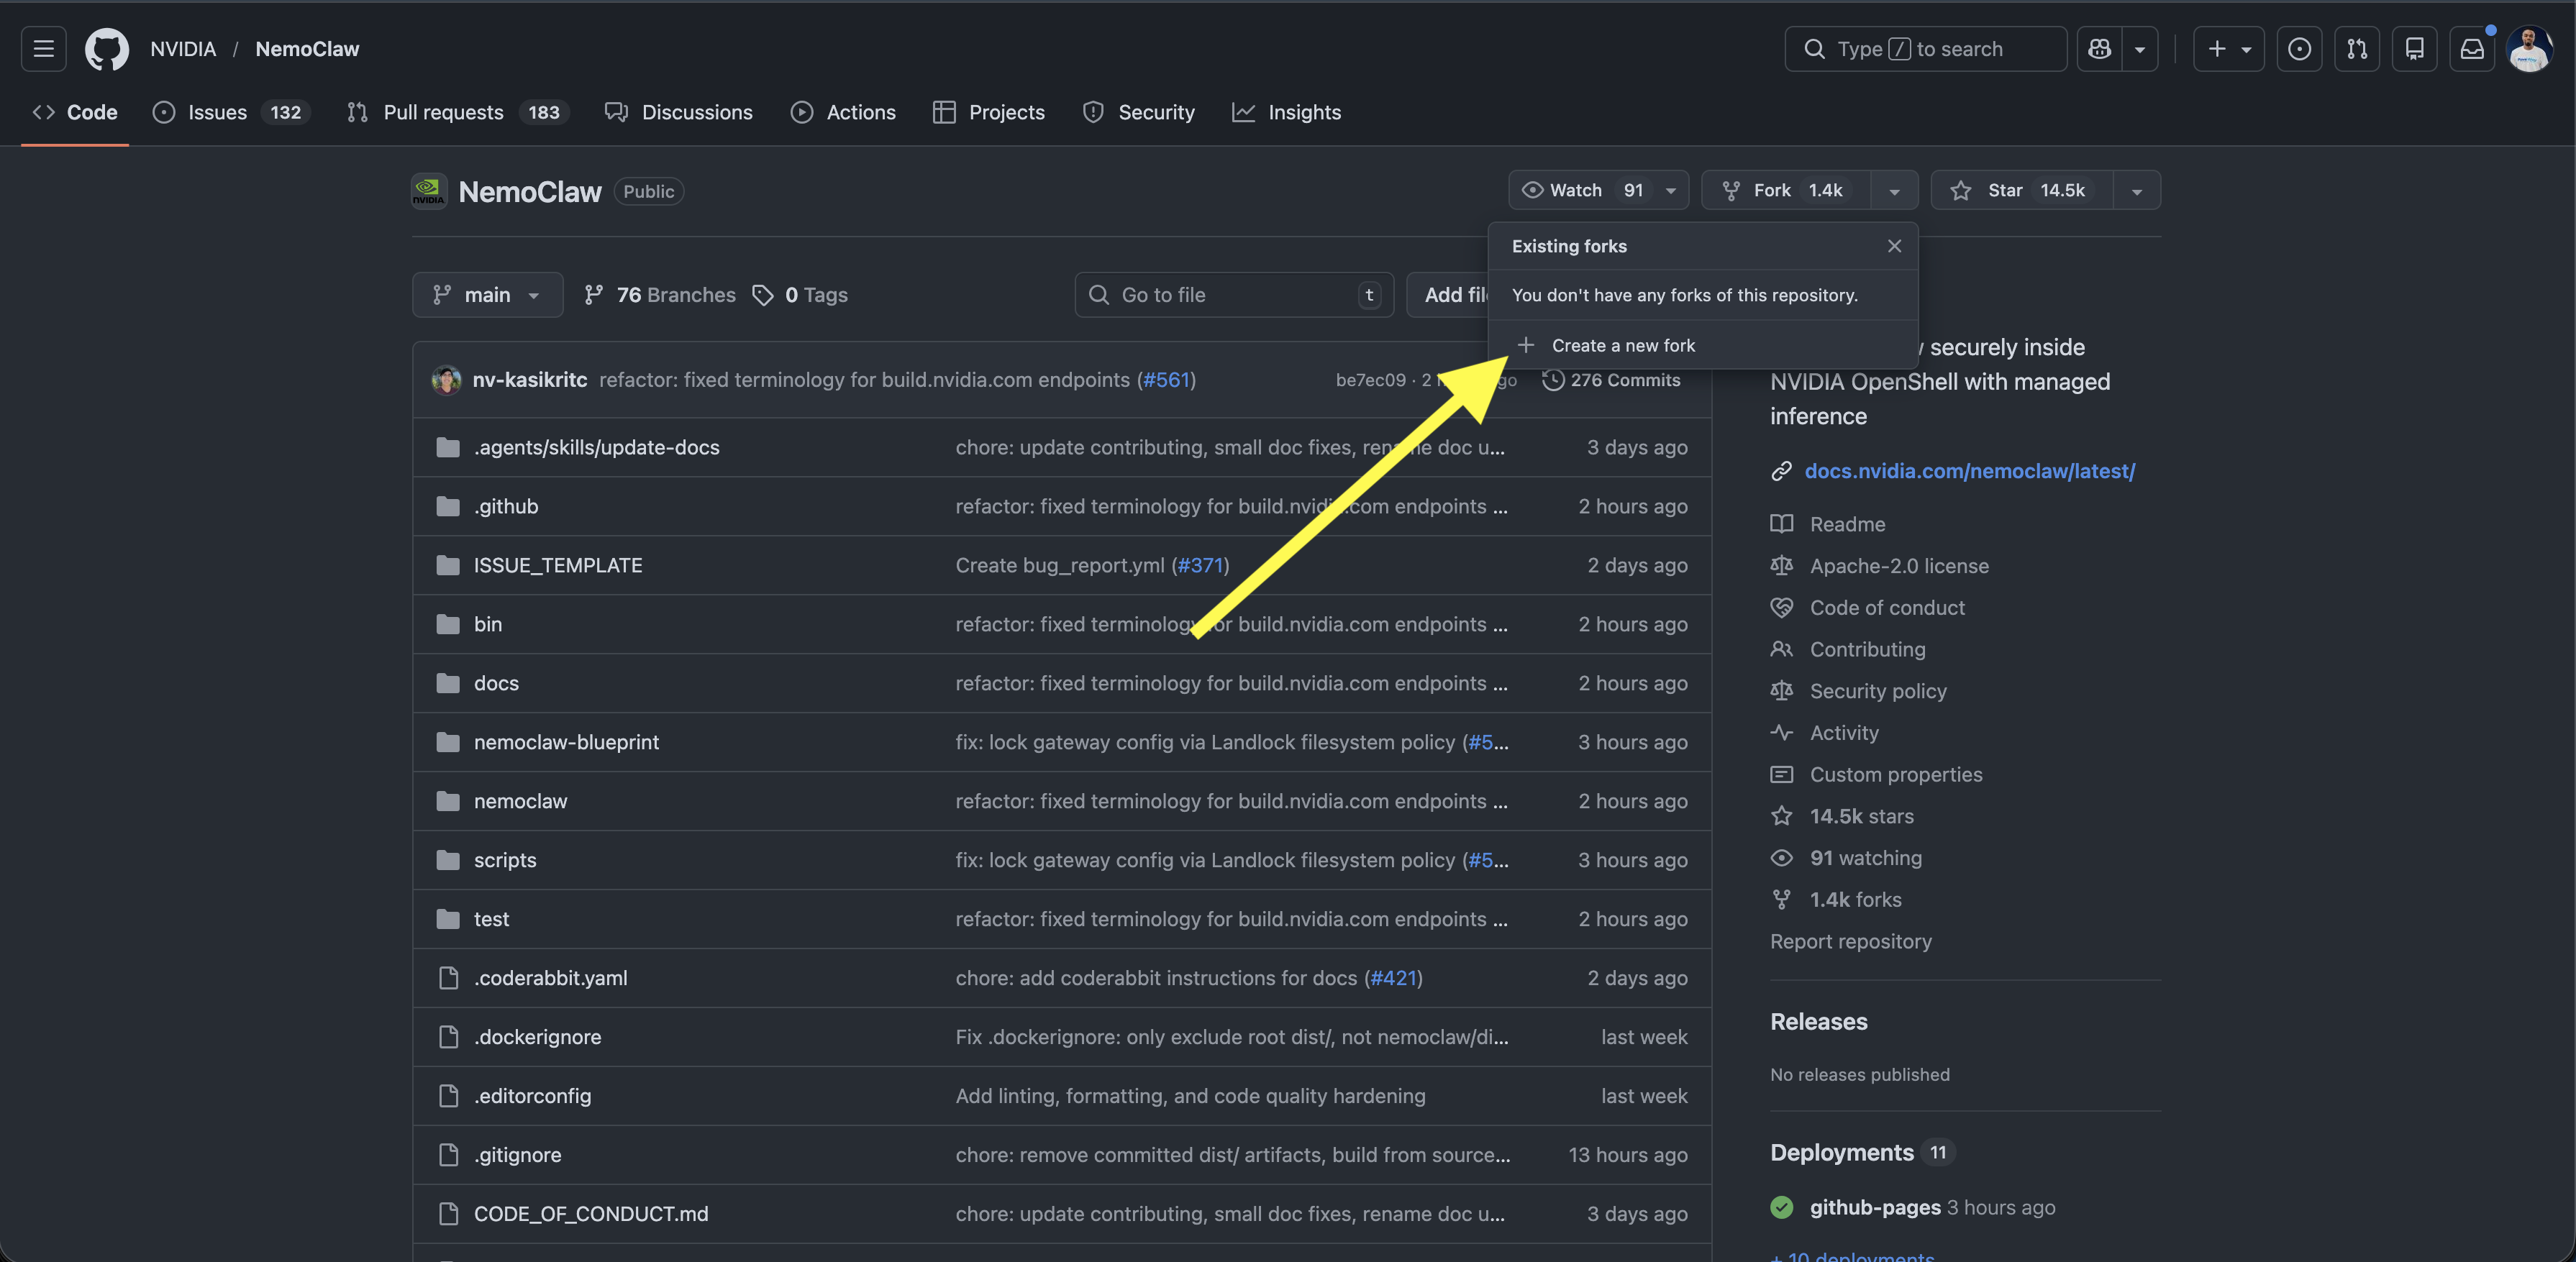
Click Fork on GitHub (creates a copy of their repo on your account).
Clone your fork to your computer.
Make changes, push to your fork.
Open a Pull Request from your fork to their original repository.
Part 6: Git Pro (Advanced Techniques)
Welcome to the big leagues. Here are the tools senior developers use daily.
1. .gitignore
Never commit passwords, API keys, or massive generated files (like node_modules/ or .DS_Store). Create a file literally named .gitignore in your project root and list the file/folder names inside it. Git will pretend they don’t exist.
2. Saving Work Without Committing: git stash
You are working on a feature, but your boss asks you to fix an urgent bug on the main branch. Your current work is half-finished, so you can’t commit it yet.
git stash        # Hides your uncommitted changes in a temporary drawer
git switch main  # Safely switch branches
# ... fix the bug ...
git switch your-feature-branch
git stash pop # Pulls your unfinished work out of the drawer!4. Rebase vs. Merge
While git merge combines branches and creates a “merge commit” tying them together, git rebase rewrites history to make it look like you wrote your feature branch after the latest changes on main. It creates a perfectly clean, straight timeline.
Never rebase commits that exist outside your local repository!
5. Pro Productivity Hack: Git Aliases
Typing long commands gets tiring. You can create shortcuts in your terminal. Run this:
git config --global alias.lg "log --color --graph --pretty=format:'%Cred%h%Creset -%C(yellow)%d%Creset %s %Cgreen(%cr) %C(bold blue)<%an>%Creset' --abbrev-commit"Now, instead of git log, type git lg. You will get a beautiful, color-coded, graphical representation of your git history!
Conclusion
Congratulations! You have journeyed from the absolute basics of saving files to mastering advanced branching, stashing, and repository management. Git is a tool that requires muscle memory. The best way to learn is to start using it for every project you create, no matter how small.
Happy coding 😎😏☺️😉😊!
References and Further Reading
- Official Git Documentation & Book - The absolute source of truth. Free and highly comprehensive.
- GitHub Skills - Interactive, step-by-step courses built right into GitHub.
- Learn Git Branching - A fantastic, highly visual interactive game that teaches you branching, rebasing, and merging.
- Oh My Zsh - For Mac and Linux users, a terminal framework that includes incredible visual Git plugins (showing your current branch and status right in the command prompt).
- Atlassian Git Tutorials - Excellent, easy-to-read guides on advanced workflows.